Do it yourself ceramic coating for cars can work when the paint is clean, corrected as needed, and kept within the coating maker’s application and curing conditions. Follow the product label, and you can finish with a more uniform, easier-to-maintain surface; if you cannot keep the vehicle dry and sheltered during the specified cure period, postpone the job or have a shop apply it.
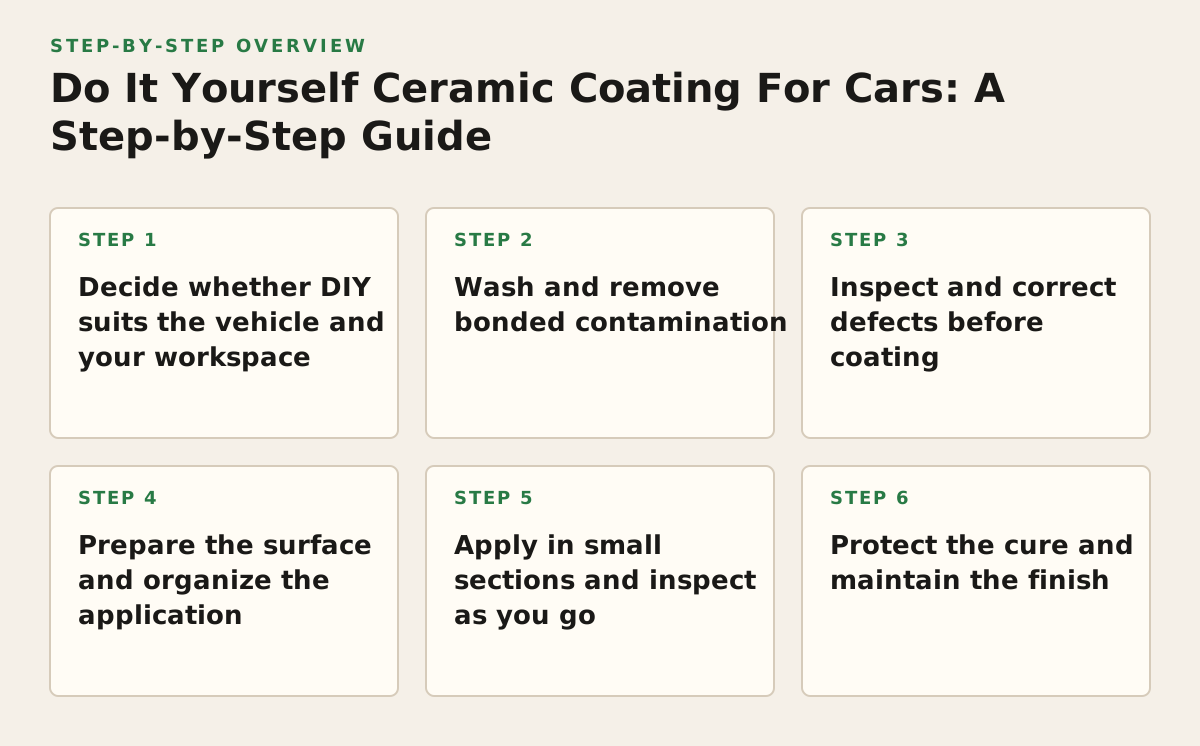
Step 1: Decide whether DIY suits the vehicle and your workspace
A coating bonds to the surface you prepare; it does not fill or remove scratches. That makes paint condition and prep time more important than the coating name. A daily-driven SUV with sound paint may need little correction, while a black sports car with visible wash marks can show every defect more clearly once coated.
Plan the job for a covered, well-ventilated space with steady conditions that fit the product directions. In Metro Detroit, a garage can help keep rain, dust, and falling debris off the paint, but temperature and humidity still matter. Check the product instructions and the weather forecast before starting rather than assuming a garage makes any day suitable.
- DIY may fit if the finish is in reasonable condition, you can work panel by panel, and you have time to prepare and inspect.
- Pause or get help if the paint needs substantial correction, the vehicle has fresh bodywork, or you cannot provide the required sheltered cure conditions.
- For a truck, motorcycle, boat, or RV, confirm that the product is intended for the specific surface material. Painted panels, plastics, glass, and gelcoat may call for different products or instructions.
Step 2: Wash and remove bonded contamination
Clean before judging the paint
Rinse loose grit away, wash with a coating-compatible shampoo, and dry with clean towels. Pay attention to lower doors, rocker panels, tailgates, and wheel-adjacent areas: road film and grit there can contaminate towels or polishing pads later. Keep your wash tools off the ground and replace a towel if it picks up dirt.
After washing, feel the paint through a clean plastic bag. If it feels rough, bonded contamination may remain. A clay product can help remove surface contaminants, but follow its directions and use plenty of the specified lubricant; clay can mar paint, so it may create polishing work. Meguiar’s describes its clay kit as a way to remove bonded contaminants from paint, while emphasizing use with its supplied lubricant in the product directions (Meguiar’s Smooth Surface Clay Kit).
- Work from cleaner upper panels toward dirtier lower panels.
- Use a separate wash mitt or process for wheels and tires.
- Do not coat over tar, sap, embedded grit, or wash residue; remove the contaminant using a suitable method first.
Step 3: Inspect and correct defects before coating
Move the vehicle into bright, even light and inspect one panel at a time. A handheld inspection light can reveal swirls and haze that diffuse garage lighting hides. Decide whether each defect needs correction or can remain. Correction is optional; a clean, properly prepared surface is not.
Worked example: a Metro Detroit daily driver
Suppose a dark crossover has light wash marks on the hood and roughness near the rear wheels. After washing and decontamination, inspect the hood again. If the marks remain and bother you, test a mild polish on a small area, then inspect that spot under the same light. If the test improves the appearance without creating haze, repeat carefully where needed. If it does not, stop rather than moving to a more aggressive method without the experience or tools to finish cleanly. The rough lower panels may need more cleaning, not more polishing.
Polishing removes a small amount of clearcoat, so do not chase every defect—especially on an older vehicle, repainted panel, or fleet unit with uncertain history. If paint thickness or repair history is a concern, leave correction to a qualified professional. If you want protection against chips on leading edges, consider ppf; a liquid coating is not a substitute for a physical film.
Step 4: Prepare the surface and organize the application
Remove polishing dust, then use the coating maker’s recommended surface-preparation product and method. The aim is a surface free of polishing oils and residue that could interfere with bonding. Avoid improvising with household cleaners or solvents: they may leave residue or affect trim, paint, or nearby materials.
Read the chosen coating’s current directions from start to finish before opening it. Application area, leveling method, wipe-off timing, and curing instructions vary by formula. For example, the makers’ product pages provide product-specific application information for Gyeon Q² Mohs EVO and CARPRO CQUARTZ UK 3.0; do not transfer one product’s timing or process to another.
| Before you start | Ready signal | If not ready |
|---|---|---|
| Paint | Clean, dry, and free of visible residue | Rewash or repeat appropriate preparation |
| Workspace | Conditions match the product directions; vehicle can stay protected | Reschedule rather than gamble on rain, dust, or unsuitable conditions |
| Tools | Applicator, clean leveling towels, lighting, and gloves are within reach | Gather clean supplies before opening the coating |
| Test area | You understand how the product spreads and levels | Practice on a less visible painted area, following the label |
Use any manufacturer-stated temperature, humidity, flash, and cure limits as controlling instructions. Do not invent a universal wait time based on another coating or an online video.
Step 5: Apply in small sections and inspect as you go
Put the coating on the applicator as directed, then spread it evenly over a manageable section. Keep track of where you applied it so you do not leave gaps or accidentally let an area sit too long. Use clean towels and the specified leveling process to remove excess. Work under bright light: high spots and streaks are easier to correct while fresh than after the coating has cured.
Common application traps
- Working too large an area: the product may become difficult to level before you return to it.
- Using a dirty towel: residue or grit can drag across the surface and compromise the finish.
- Applying extra product to fix a missed spot: a heavy patch can leave uneven residue; follow the maker’s correction instructions instead.
- Rushing edges and trim: protect sensitive trim as directed and inspect panel edges, mirrors, and body lines before moving on.
After each section, change your viewing angle and inspect for cloudy patches, streaks, or missed areas. If the product’s instructions call for a particular wipe sequence or inspection window, use that—not a generic rule. Gtechniq’s Crystal Serum Light product information is another example of why application and aftercare should be matched to the specific coating.
Step 6: Protect the cure and maintain the finish
Keep the vehicle sheltered and dry for the period specified by the manufacturer. Avoid washing or exposing it to chemicals until the instructions allow; if unexpected rain or contamination occurs, consult the product guidance rather than scrubbing a fresh coating. On a shared fleet vehicle or work truck, arrange downtime so drivers do not return it to dirty, wet service before it is ready.
Once the coating is ready for routine care, wash with a coating-compatible process and remove winter road salt promptly. A coating does not make paint scratch-proof or eliminate washing. Harsh brushes, abrasive cleaners, and dirty drying towels can still damage the finish. For a boat, RV, powersports vehicle, or commercial unit, follow the coating maker’s surface-specific maintenance advice and account for the vehicle’s storage and use.
Keep the product name and application date with the vehicle’s records. If water behavior changes, treat that as a reason to inspect and clean the surface—not automatic proof that the coating has failed. Dirt, mineral deposits, and residue can affect how water behaves.
Start with a paint inspection, not a coating purchase
First, wash a test section and inspect it in bright light. That tells you whether the main job is straightforward cleaning, careful paint correction, or a professional assessment; then choose a coating whose instructions and cure requirements fit your workspace and schedule. For help with paint preparation or a professionally applied coating, Rite-Way Auto Reconditioning serves Greater Metro Detroit drivers and also works with dealerships, fleets, and owners of other vehicles. Rite-Way Auto Reconditioning.