A paint correction kit is a set of products and tools for refining a vehicle’s existing paint, usually with compound, polish, pads, and sometimes a polisher. Choose one based on the defect you want to reduce and the surface you need to work on, not the number of items in the box. A kit may improve light swirls and dullness, but it cannot reliably repair peeling clear coat, a deep scratch through the paint, or a dent. For a car, truck, motorcycle, boat, or RV, the safest starting point is to identify the defect, check that the finish is intact, and test the least aggressive suitable option in a small area.
Start by identifying the result you want
Paint correction changes the appearance of the existing finish; it is not a universal repair kit. Compounds and polishes refine the surface to reduce visible defects such as haze, oxidation, and some wash marks. Their effect depends on the defect, the paint, the product, and how it is applied. A kit’s claims should be read as a description of intended use, not a promise that every scratch or mark will disappear.
First, distinguish a surface mark from damage that needs a different repair. A hazy panel or fine wash marring may be a candidate for polishing. A scratch with a sharp edge, exposed primer, peeling coating, or a dent is a different job. Correction removes or refines a small amount of the finish; it does not put missing paint back. If you are unsure whether the mark is on the surface or through the finish, avoid treating it as a polishing problem until it is assessed.
- Gloss looks muted, but the finish is intact: consider a finishing polish or a mild correction product.
- Fine wash swirls show under direct light: a suitable polish and pad may reduce their visibility.
- Oxidation or heavier marring covers a broad area: a compound may be needed, followed by a refining step, depending on the paint.
- A deep scratch, chip, peeling clear, or dent: a correction kit is not a substitute for refinishing, touch-up, or body repair.
Manufacturers make distinctions between cutting and finishing products. For example, Meguiar’s describes Ultimate Compound as a compound for defects including oxidation and scratches, while its Ultimate Polish is presented as a polishing product. Those descriptions help explain the products’ intended roles; they do not establish that either product is appropriate for every paint system or defect.
Match the correction level to the defect
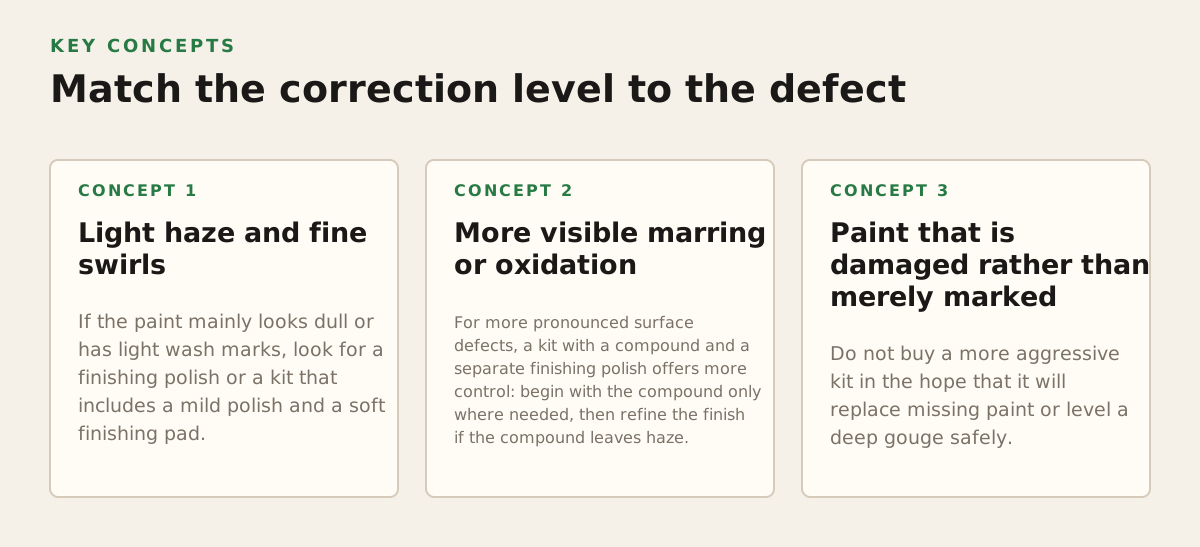
For buying purposes, think in terms of the least aggressive approach likely to work. A stronger compound can remove defects more quickly, but it may also leave more haze to refine and gives less margin for error. A mild polish is a more conservative starting point on light defects, but it may not change heavier marks. The right kit is the one that gives you a workable progression, not automatically the one with the strongest compound.
Light haze and fine swirls
If the paint mainly looks dull or has light wash marks, look for a finishing polish or a kit that includes a mild polish and a soft finishing pad. This setup is aimed at refining gloss rather than rapidly cutting through more noticeable defects. A single-step product can be convenient when the goal is improvement rather than maximum defect removal. Check the product directions to see whether it is intended to leave a finished surface or to be followed by another polishing step.
More visible marring or oxidation
For more pronounced surface defects, a kit with a compound and a separate finishing polish offers more control: begin with the compound only where needed, then refine the finish if the compound leaves haze. This does not mean every vehicle needs both steps. A hard-to-correct paint may respond slowly, while a softer or previously repaired area may mark more readily. A kit that offers several pad choices can help adapt the process, but extra pads are useful only if their intended cutting levels are clearly identified.
Paint that is damaged rather than merely marked
Do not buy a more aggressive kit in the hope that it will replace missing paint or level a deep gouge safely. If the clear coat is flaking, the color layer is exposed, or a scratch catches sharply and appears deep, polishing may fail to solve the visible problem and could worsen the surrounding finish. In those cases, ask a refinishing professional to assess whether touch-up or repainting is appropriate.
Check what the kit actually includes
“Paint correction kit” can describe anything from a bottle of polish and a hand applicator to a machine, pads, and multiple liquids. Compare the contents against the job you have in mind. A product bundle is not necessarily a complete system: you may still need cleaning supplies, compatible pads, or a separate protection product after correction.
- Correction liquids: identify whether the kit includes a compound, a finishing polish, a one-step product, or some combination. Read the maker’s directions for the intended sequence.
- Pads: check the number, material, and stated role of each pad. A clear cutting-to-finishing distinction is more useful than a large assortment with no guidance.
- Applicator or machine: confirm whether the kit is hand-applied or includes a polisher. If a machine is included, check that its instructions explain pad compatibility and operation.
- Supporting items: look for clean microfiber towels and any needed backing plate or accessories, but verify what is included rather than assuming from the product photo.
- Instructions and limitations: favor directions that explain surface preparation, application, removal, and restrictions for delicate or repainted finishes.
For a machine-based kit, the tool’s motion matters. A random-orbital or dual-action polisher moves the pad in an orbit as well as rotation; a rotary polisher spins in a direct circular motion. These are different tool types, not interchangeable labels. RUPES describes its BigFoot polishing systems as a family of polishing tools and related components. Check the specific machine’s instructions and intended use rather than assuming a kit’s general label tells you how it behaves.
Likewise, professional refinishing systems may have a defined sequence of abrasive and polishing materials. 3M’s paint-finishing information covers products for collision-repair paint finishing. That is useful context when comparing system-based instructions with a consumer kit, but it does not make a body-shop process a suitable DIY procedure for every vehicle.
Choose an application setup for your vehicle
Surface area and shape affect how practical a kit will be. A broad, accessible hood on a car is different from a motorcycle tank with tight curves, a boat with large gelcoat panels, or an RV with a mixture of painted and other exterior materials. Before buying, check that the product is meant for the surface you intend to polish; automotive paint, gelcoat, plastic trim, and matte finishes should not be treated as automatically interchangeable.
- Car or SUV: consider how much area you plan to correct and whether you can work panel by panel. A machine may be efficient across large, accessible painted panels, while tight details still require a more controlled approach.
- Truck or sports car: account for broad panels as well as curves, edges, and body lines. A kit with clear pad choices can be more adaptable than one built around a single aggressive setup.
- Motorcycle, dirt bike, or ATV: consider the smaller panels, narrow areas, and mix of painted and unpainted parts. A large machine pad may not fit safely or evenly on every section.
- Boat or RV: verify the surface material and product compatibility first. Large area does not mean every exterior panel is automotive clear-coated paint; manufacturers’ instructions should settle that question.
- Fleet or commercial vehicle: include repeatability in the decision. A kit that depends on an operator judging several pad and product combinations may not suit a team seeking a consistent process across many vehicles.
Hand application and machine application are not simply two versions of the same effort. Hand polishing can suit a small area or an owner who wants to avoid operating a powered tool, but it is physically demanding across large panels and may produce less consistent correction. A machine can cover broad areas more efficiently, yet requires control of the pad, pressure, and work area. Pick the method you can use evenly on the specific panels you plan to treat; do not buy a machine kit solely because it promises faster correction.
If the paint has already been corrected and your next priority is protection, compare the role of coating or ppf separately. These are protection choices, not substitutes for correcting a defect that remains in the finish.
Use a small test area to decide whether the kit fits
A kit’s directions and a controlled test area are more useful than guessing from a product label. Start with a clean, dry surface prepared according to the manufacturer’s instructions. Choose a representative section that is small enough to inspect carefully, and use the least aggressive product and pad combination that could plausibly address the defect. Work it as directed, remove residue with a clean towel, and inspect the result in good light before deciding whether to continue.
- Inspect the surface: note whether the issue is isolated or spread across the panel, and look for peeling, exposed color, or other damage that polishing will not repair.
- Read the kit directions: confirm the permitted surface, application method, pad pairing, and any restrictions relevant to your vehicle.
- Test one combination: keep the test area and method consistent so you can judge whether the product improved the defect or introduced haze.
- Choose the next step: if the result is satisfactory, proceed carefully using the product instructions. If it is not, do not automatically jump to the most aggressive option; reassess whether the defect or finish calls for professional evaluation.
Stop if the finish changes unexpectedly, the surface becomes damaged, or you cannot tell whether the mark is improving. Also stop rather than polishing through a problem such as failing clear coat. A kit cannot restore a coating that is already separating from the panel, and continuing may expand the area needing repair.
Practical recommendation: for light haze or fine swirls on intact paint, choose a clearly documented mild polish kit and test it first. For heavier defects, unusual surfaces, uncertain paint history, or visible coating failure, get the finish assessed before choosing a more aggressive correction. Rite-Way Auto Reconditioning offers detailing, paint correction, and paint-protection services; review the options or contact the team through Rite-Way Auto Reconditioning to discuss which type of work fits your vehicle.