Use this paint protection film coverage selection guide to match coverage to the places your vehicle is most likely to take impacts, your tolerance for visible film edges, and the panels you would least want to refinish. For many daily-driven cars and trucks, the front bumper, hood, and front fenders are the first areas to assess; expand to rocker panels, doors, or other zones when your driving, loading, or work conditions put them at risk. Before choosing a package, get the installer to identify exactly which panels are covered and where the film edges will end.
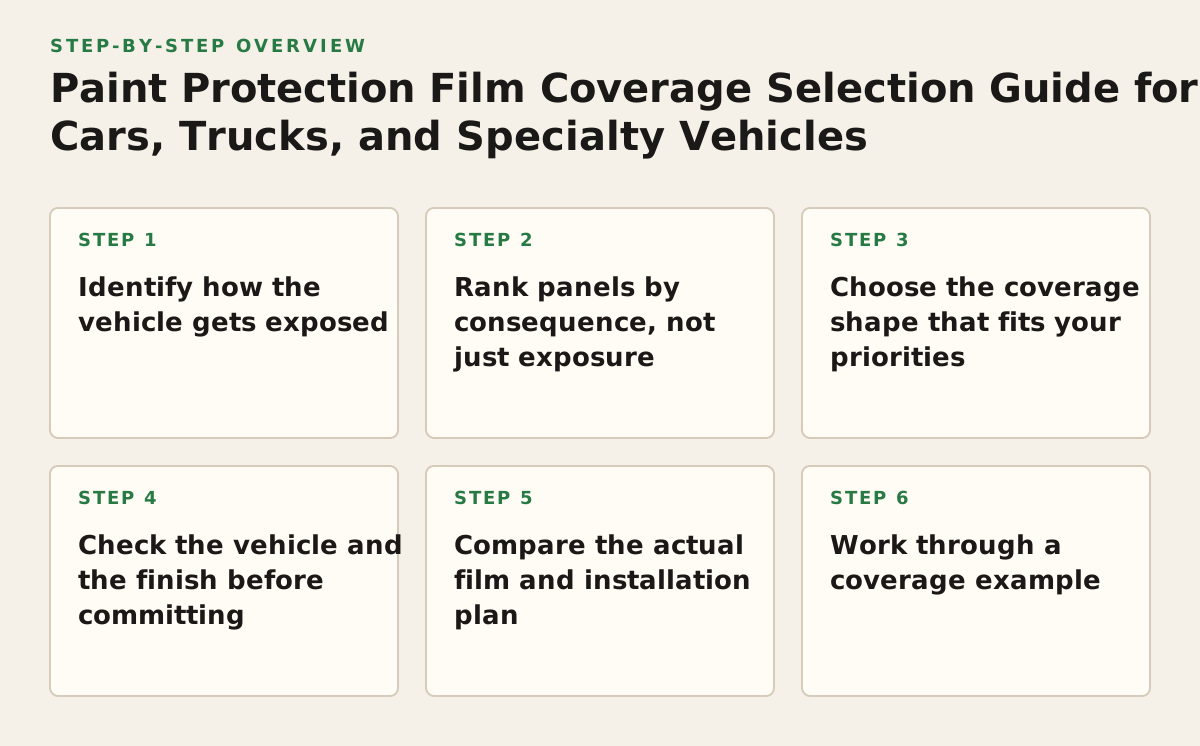
Step 1: Identify how the vehicle gets exposed
Start with use, not a package name. A sports car that sees highway miles has a different impact pattern from a pickup used on gravel roads, a motorcycle exposed to road debris, or a fleet vehicle that repeatedly loads cargo. Paint protection film is a physical layer applied over paint; product makers describe it as protection against types of surface damage such as chips and scratches, but coverage cannot prevent every impact or eliminate the possibility of damage underneath. See the product descriptions from 3M and XPEL when comparing what a particular film is intended to do.
- Highway driving: Note the forward-facing panels that meet road debris, including the bumper, hood, and mirror housings.
- Gravel, job sites, or frequent towing: Check lower doors, rocker panels, fender edges, and areas behind wheels for exposure.
- Loading, parking, or tight access: Look for repeat contact points such as door edges, cargo areas, and sill panels.
- Specialty use: For motorcycles, boats, RVs, and commercial vehicles, ask whether the chosen film and application are appropriate for the surface material and operating conditions.
Use the vehicle’s actual wear as evidence. Existing chips or scuffs can reveal where protection matters; a clean-looking panel is not necessarily safe if it repeatedly faces debris or contact.
Step 2: Rank panels by consequence, not just exposure
Make a short, vehicle-specific priority list
For each candidate panel, consider both how likely it is to be hit and what a repair would mean to you. A front bumper may see frequent debris, while a door edge may be more likely to get a small contact mark. Those are different risks, so they do not automatically call for the same coverage.
- Write down the panels exposed during your normal driving or work.
- Mark which marks would bother you most or be difficult to address.
- Separate “protect now” panels from “consider later” panels.
Prioritize the costly-to-live-with area, not the largest panel by default. If preserving the look of a dark, prominent hood matters more than a small edge mark, that preference belongs in the plan. Conversely, if the vehicle is a work truck and lower-body wear is the recurring issue, a front-only package may leave the important risk uncovered.
Step 3: Choose the coverage shape that fits your priorities
Package names such as “partial front” or “full front” are not precise enough to approve a job. The boundaries can vary by installer, vehicle, and pattern. Ask for the panel list and a diagram or marked-up image showing what is included. Use the table as a starting point for that conversation, not as a universal package definition.
| Coverage approach | Often worth discussing for | Trade-off to check |
|---|---|---|
| Selected impact panels | A focused concern such as a bumper, mirror, door edge, or loading sill | Adjacent unprotected paint may still show wear, and the boundary may be visible |
| Partial front | Owners seeking protection on key front areas while limiting coverage | Ask where the hood and fender film stops and whether the line will be noticeable |
| Full front | Vehicles where the owner wants a more consistent protected front end | Confirm the included front panels; “full front” can mean different things in a quote |
| Expanded coverage | Frequent gravel-road use, work conditions, or specific lower-body exposure | More panels mean more edges, seams, and surface area to inspect and maintain |
Coverage boundaries are part of the decision. A partial hood installation can leave a line where film ends; full-panel coverage can avoid that particular mid-panel boundary, but it does not make every edge invisible. Ask the installer how the film will terminate around contours, badges, sensors, and panel edges, and what constraints the vehicle’s shape creates.
Step 4: Check the vehicle and the finish before committing
Resolve paint, repairs, and sensors first
Film protects the surface it is applied to; it does not correct the condition of the paint beneath it. Ask for an inspection of existing chips, touch-ups, peeling clear coat, repainted panels, and contamination. If correction or repair is needed, agree on the sequence before installation. A film edge can make an underlying defect more noticeable, and removing film later may affect an already-compromised finish.
Also identify cameras, radar, parking sensors, and other driver-assistance equipment. Sensor locations and requirements vary by vehicle, so do not assume film can go over an opening or sensor face. NHTSA describes driver-assistance technologies that use vehicle sensors; confirm the vehicle-specific restrictions with the manufacturer or a qualified installer before approving coverage near those components (NHTSA driver-assistance technologies).
- Ask whether any painted panel has been refinished and whether that changes the installation recommendation.
- Have the installer identify excluded areas and explain why they are excluded.
- Confirm how film will be handled around sensors, cameras, badges, vents, and panel gaps.
- Discuss whether paint correction is appropriate before film; it is easier to settle the finish plan before application.
If the paint needs refining, consider that work before choosing coverage. Rite-Way offers paint correction and refinishing as well as ppf; the appropriate sequence depends on the vehicle’s condition and the installer’s assessment.
Step 5: Compare the actual film and installation plan
Ask for the film product name, the precise panel list, the planned edge treatment, and the written care and warranty information. Different manufacturers and product lines publish different specifications and terms, so compare the actual documents rather than relying on a generic package label. For example, review the product information from LLumar and Avery Dennison alongside the proposed product. Verify what the written warranty covers, what exclusions apply, and who handles a claim; do not infer coverage from the film brand alone.
Ask these questions before authorizing the work:
- What exactly is included? Request panel names and a visual coverage map.
- Where are the edges? Ask which edges are wrapped, tucked, or left visible, and why.
- What prep is included? Clarify cleaning, paint inspection, and any agreed correction or repair.
- What should I expect afterward? Get the product-specific care instructions and the written warranty terms.
A useful quote makes exclusions as clear as inclusions. If two proposals use the same package name but list different panels, compare the maps, not the labels.
Step 6: Work through a coverage example
Illustrative example: a highway-driven pickup
Imagine a pickup used for regular highway commuting, with occasional gravel-road trips and cargo loaded through the rear. This is an illustrative decision exercise, not a claim about a particular vehicle or a prescribed package. The owner first flags the front bumper, hood, mirrors, and front fenders for road exposure. They then add the rocker panels because gravel-road use makes lower-body protection a concern, and ask about the cargo-area sill because loading creates a separate contact risk.
Rather than immediately choosing the broadest package, the owner requests a marked coverage map. The installer explains where the front coverage ends, whether the hood boundary would be visible, and whether the lower panels are suitable for the proposed film. The owner checks the paint condition and asks how any prior touch-up affects installation. They then compare the written product terms and decide whether the added lower-body areas matter enough to include now.
The useful outcome is a documented decision: priority panels, deferred panels, known exclusions, edge locations, and product-care requirements. That record makes it easier to compare quotes or revisit coverage if the vehicle’s use changes.
What to do first: make a panel map
Before requesting a quote, walk around the vehicle and list the panels that face debris, repeated contact, or difficult-to-ignore damage. Mark your top priorities, note any existing paint issues, and ask each installer to return a panel-by-panel map with edge locations and exclusions. For a vehicle that is regularly exposed to road impacts, start by discussing the front end; for a truck, fleet vehicle, motorcycle, boat, or RV, add the zones tied to its actual work and use.
Rite-Way Auto Reconditioning provides paint protection film installation and paint correction in the Greater Metro Detroit area. Review the coating option as a separate paint-protection discussion, or contact Rite-Way Auto Reconditioning to ask about a vehicle-specific coverage plan.
Authored with NotFair SEO