
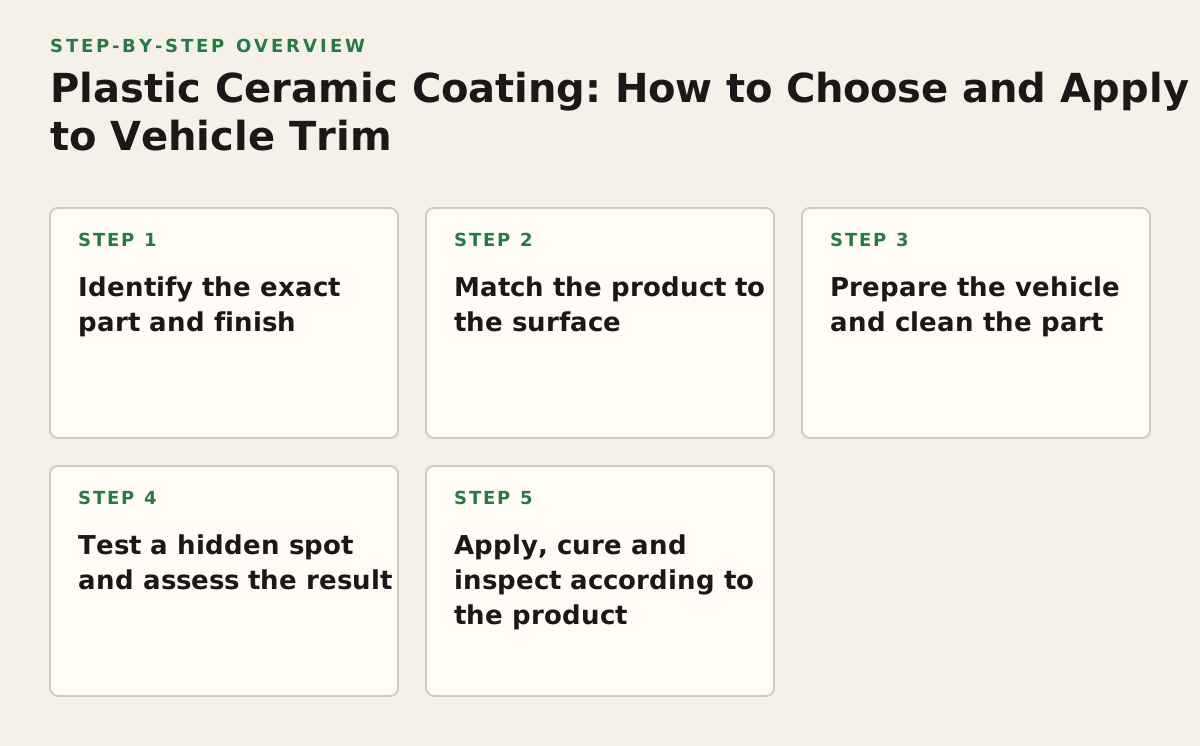
Plastic ceramic coating is a treatment for plastic or trim surfaces only when the product specifically approves that material and finish. To apply it carefully, identify the part, check the product directions, clean and dry the surface, test a hidden spot, then apply and cure it exactly as instructed. This process helps car, truck, motorcycle, boat and RV owners avoid treating unlike surfaces as interchangeable—and gives you a clear point to stop if compatibility is uncertain.
Step 1: Identify the exact part and finish
“Plastic” is not a complete compatibility check
Before choosing a product, work out what the part is and how it is finished. Textured, unpainted bumper trim is a different decision from a glossy black pillar, a painted mirror cap, a rubber seal or a clear lamp lens. Even when two parts feel like plastic, that does not establish that the same coating is suitable for both.
Check the vehicle or part documentation if you cannot tell whether a panel is painted, coated or bare plastic. Then compare that information with the product’s stated approved surfaces and exclusions. Do not assume a trim product is suitable for painted plastic, or that a product intended for exterior trim is appropriate for cabin plastics. If the product does not clearly cover the part, pause and ask its manufacturer or a qualified reconditioning professional.
Also decide what you want the treatment to do. Improving the look of weathered trim, treating a new part and making a surface easier to maintain are different goals. A coating is not a repair for cracked, peeling or structurally deteriorated material; address that condition before considering surface treatment.
Step 2: Match the product to the surface
Use the label and technical directions, not the word “ceramic”
Product names do not establish compatibility. Read the current label and manufacturer directions for the exact product you plan to use, including approved materials, preparation, application, removal and cure instructions. Dedicated trim products illustrate why the product scope matters: see the maker’s pages for Gtechniq C4, GYEON Q² Trim, CARPRO DLUX and Meguiar’s Hybrid Ceramic Trim Restorer. Treat each as a product-specific option, not evidence that any one is suitable for every plastic component.
Compare instructions before comparing marketing claims. Confirm the part’s finish is listed, what the maker says to use for cleaning, and whether the directions call for a particular applicator or a final wipe. If the manufacturer’s information is unclear or unavailable, do not fill the gaps with instructions from a different brand.
| Part or condition | Decision | Reason to pause |
|---|---|---|
| Textured, unpainted exterior trim | Proceed only if the product directions approve the material and finish. | Texture and recesses can make leftover product difficult to spot. |
| Glossy or painted plastic | Check for explicit approval for that finish. | A trim product may not be intended for paint or gloss surfaces. |
| Interior plastic, rubber or clear lens | Use only if the specific product permits that part and location. | Do not infer suitability from an exterior-trim listing. |
| Cracked, peeling or badly deteriorated trim | Resolve the underlying condition first. | A surface coating will not repair damaged material. |
Step 3: Prepare the vehicle and clean the part
Keep contamination out of the application
Choose a clean work area and follow the product’s temperature, weather and moisture requirements. For a truck or SUV, take one manageable trim section at a time. That makes it easier to inspect grooves and edges before product is applied. On a motorcycle, boat, RV or commercial vehicle, consider nearby paint, glass, rubber and openings that should not receive the product.
Wash away loose dirt first. Then clean the part using a method and cleaner compatible with both the material and the coating. Use a clean microfiber towel or a soft brush suitable for the surface; remove cleaner residue as directed and let the part dry completely. Do not assume a strong solvent or household cleaner is safe. If you are uncertain about a cleaner’s compatibility, verify it before using it on a visible panel.
- Inspect the whole piece for old dressing, wax, road film and buildup in texture.
- Clean seams and edges carefully without pushing liquid into openings or onto adjacent surfaces.
- Use clean towels for the coating stage so loosened dirt or cleaner residue is not transferred back.
- Mask nearby finishes if needed to reduce accidental contact, following the product directions.
Before moving on, check that the part is visibly clean, dry and free of residue. If debris or old product remains in a groove, clean it again rather than trapping it under a new layer.
Step 4: Test a hidden spot and assess the result
Check appearance as well as compatibility
Choose a small, inconspicuous area and apply the product using the same method specified for the full job. The test tells you whether the product appears compatible and whether you can create an even result. A change in darkness, gloss or texture may suit one part but not another, so decide based on the finish you want for that specific piece.
Inspect the test area under good light after the product’s stated settling or cure period. Look for haze, streaks, tackiness, patchiness or an unwanted change in appearance. Stop if the test looks wrong; adding more product is not a reliable way to hide an uneven first application. Follow the maker’s correction guidance or get advice from someone familiar with that material.
Worked example: A pickup has textured black bumper trim and glossy black mirror caps. The owner finds a product whose instructions approve a particular type of exterior trim, but do not mention painted gloss parts. The bumper trim and mirror caps remain separate decisions: test the bumper trim as directed, and do not apply the product to the caps until their finish is confirmed as compatible. A successful test on one material does not prove suitability for the other.
Step 5: Apply, cure and inspect according to the product
Control the application instead of improvising
Use the specified applicator and amount. Work a small section evenly, paying attention to edges, grain and recesses where excess product may collect. Keep the applicator off neighboring surfaces unless the maker approves those surfaces too. If the instructions call for leveling or wiping, follow their method and timing rather than using a guessed wait time.
- Confirm that the section is clean and dry.
- Apply the directed amount using the specified applicator.
- Spread it evenly without flooding texture or grooves.
- Level or remove excess as instructed.
- Check the finish in angled light before continuing.
Application and cure directions vary by product. Do not borrow a cure time, wipe-off method or second-coat recommendation from another brand. If streaking appears, stop and use the manufacturer’s correction procedure rather than covering the issue with another layer.
After application, follow the product’s directions for water, dust, handling and washing. Avoid treating a generic cure period as a substitute for the label. Once the stated settling period has passed, inspect the part in direct and angled light for missed areas or residue. Keep the product details available so future cleaning or maintenance choices can be checked against its instructions.
First, choose one part and verify its finish
Start with the exact trim piece you want to treat—not the vehicle as a whole. Identify its material and finish, then check those details against the product’s approved surfaces before buying or applying anything. If the finish is unclear, or the instructions do not resolve compatibility, pause rather than experimenting on a visible panel.
For painted body panels, Rite-Way Auto Reconditioning offers ceramic coating and ppf; its coating page provides information about the coating service. To ask about paint protection or vehicle reconditioning, contact Rite-Way Auto Reconditioning and confirm whether the specific surface and service are within scope.